


LEARN MORE


Scheduling a Special Meeting
Applies to:
- Admin Assistant (dedicated support for committee)
- Committee Co-Chair (worker and employer)
STEPS
- There may be a need to schedule a special meeting to address urgent issues or specific topics that cannot wait until the next regular meeting. Special meetings ensure that critical, time-sensitive matters receive immediate attention and input from committee members. To begin, sign in with your Co-Chair or Admin Assistant account, following the instructions in the ‘OHS Resource Centre User Management Manual.
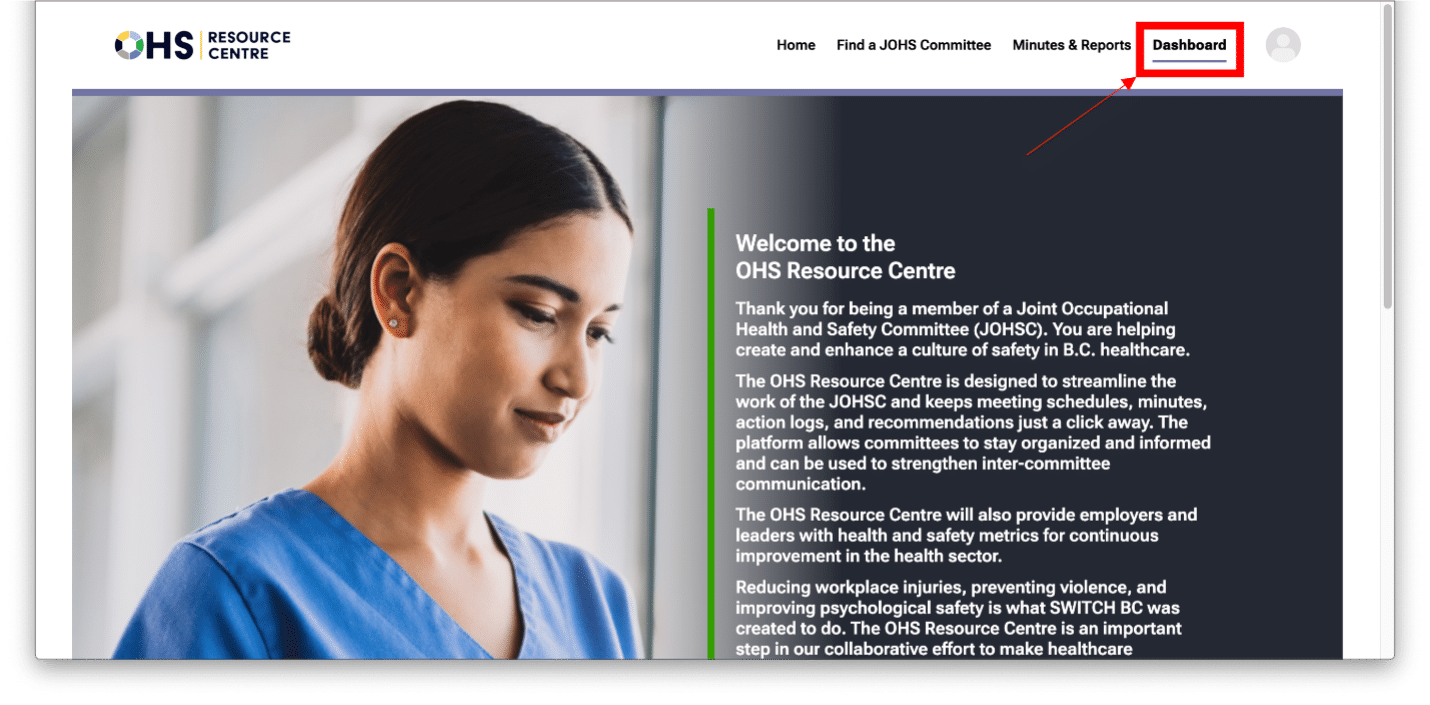
- On the header of the page, click on the ‘My Dashboard’ tab.
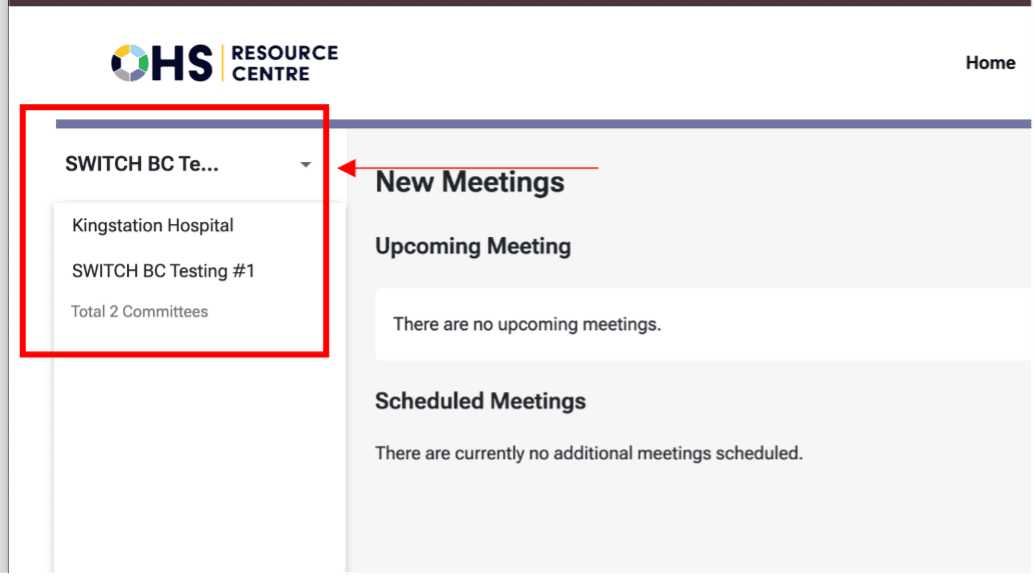
- From the drop-down options, select the committee to which you belong.
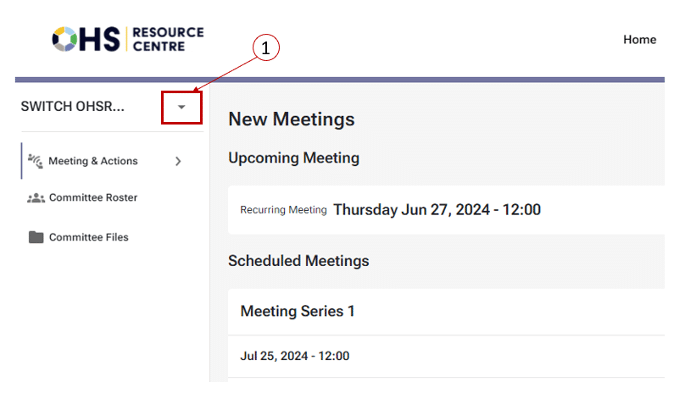
- By default, you will always land on the ‘New Meetings’ page. Here, you can schedule a ‘Special Meeting’ or a ‘Recurring Meeting’.
Note
- The quorum requirement needs to be set up before a meeting is started as it impacts the reporting and minutes PDF. However, the meeting can still proceed if the quorum is not met. Setting a quorum requirement is done under the committee roster tab, following the instructions in the OHS Resource Centre Meeting Management Manual in the “Set Up the Quorum” section.
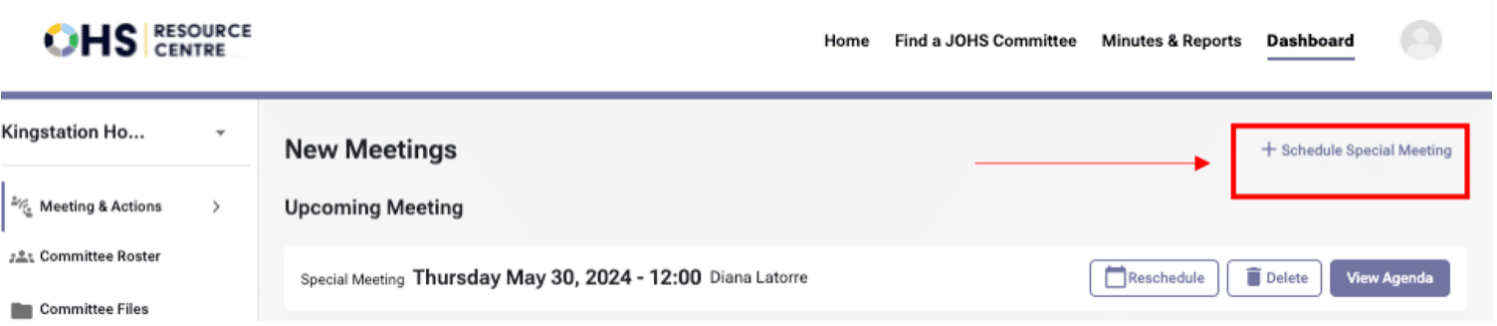
- Select ‘+ Schedule Special Meeting’ at the top of the screen, and the ‘Schedule Special Meeting’ form will appear. There are five steps to complete this process, they are as follows:
- ‘New Meeting’
- ‘Draft Meeting Agenda’
- ‘Select Recipient’
- ‘Select Date’
- ‘Review Meeting Invite’
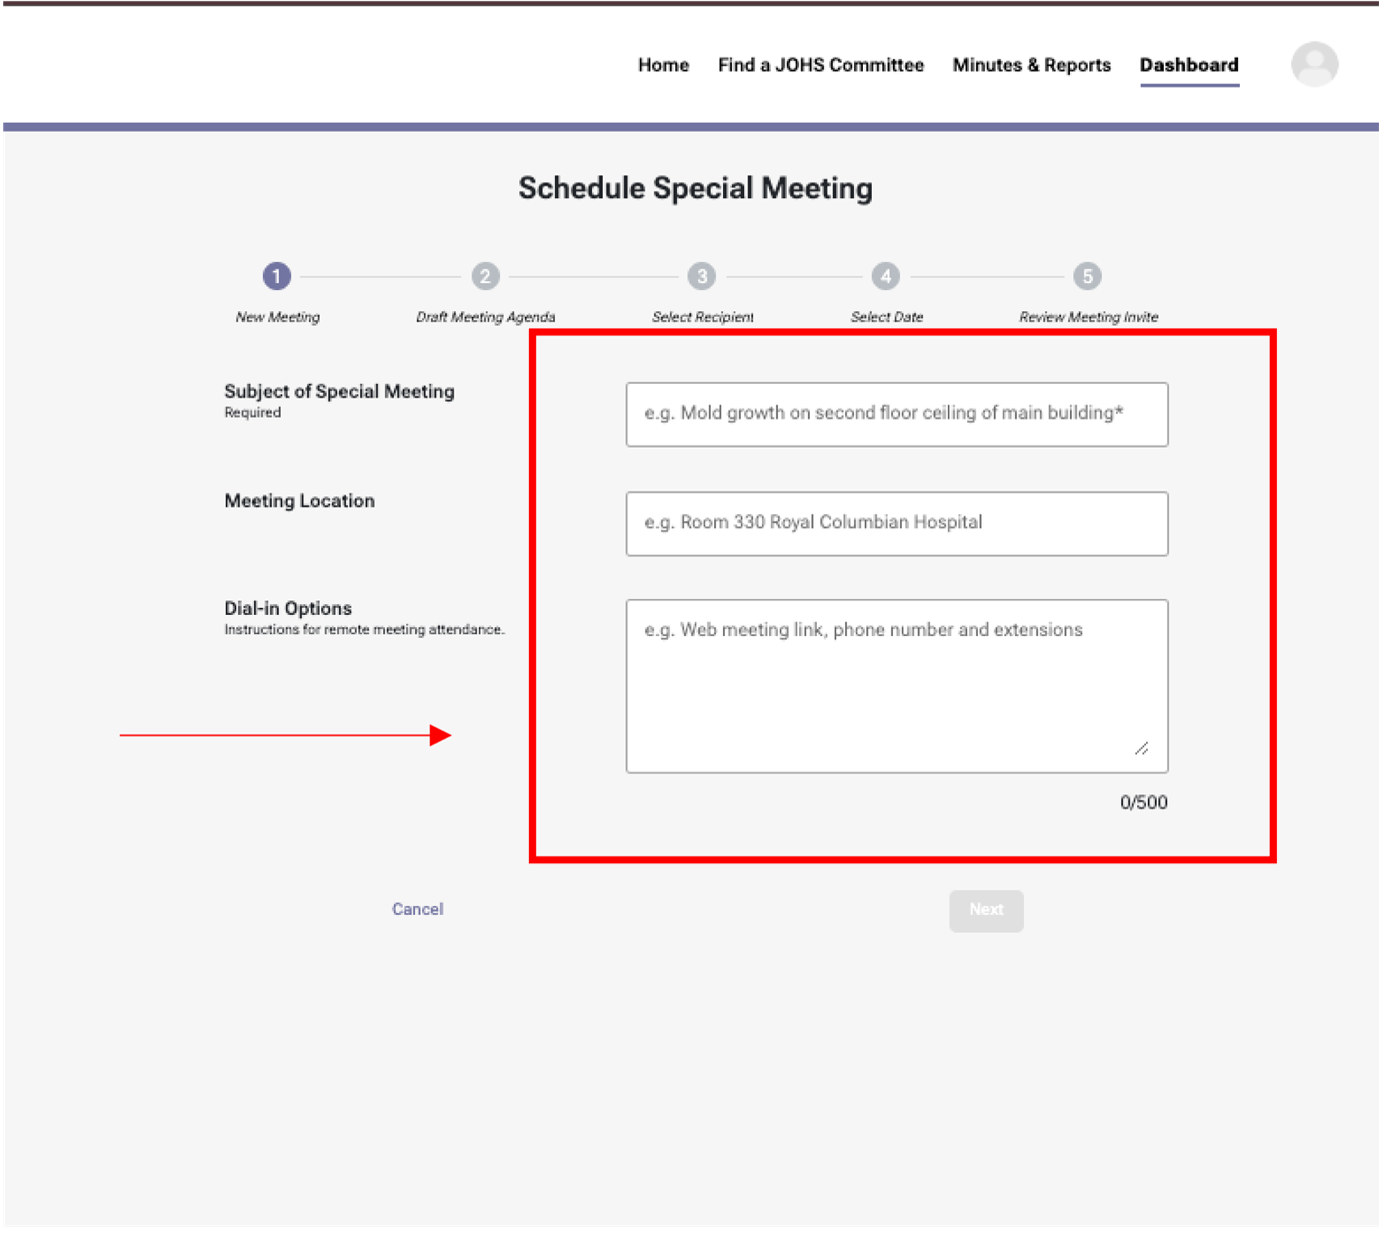
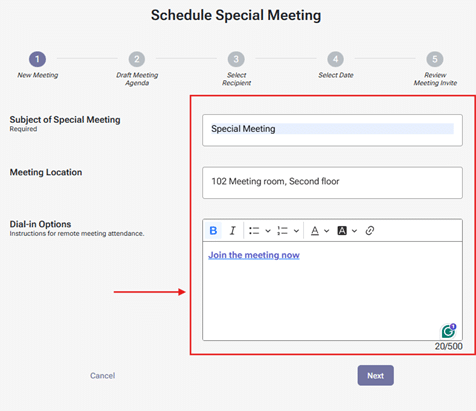
- In the first form, complete the ‘Subject of Special Meeting’ section, add the ‘Meeting Location’ (be as specific as possible for your attendees), and share the ‘Dial-in Options’. You can apply the meeting link to the words “Join the meeting now”, as shown:
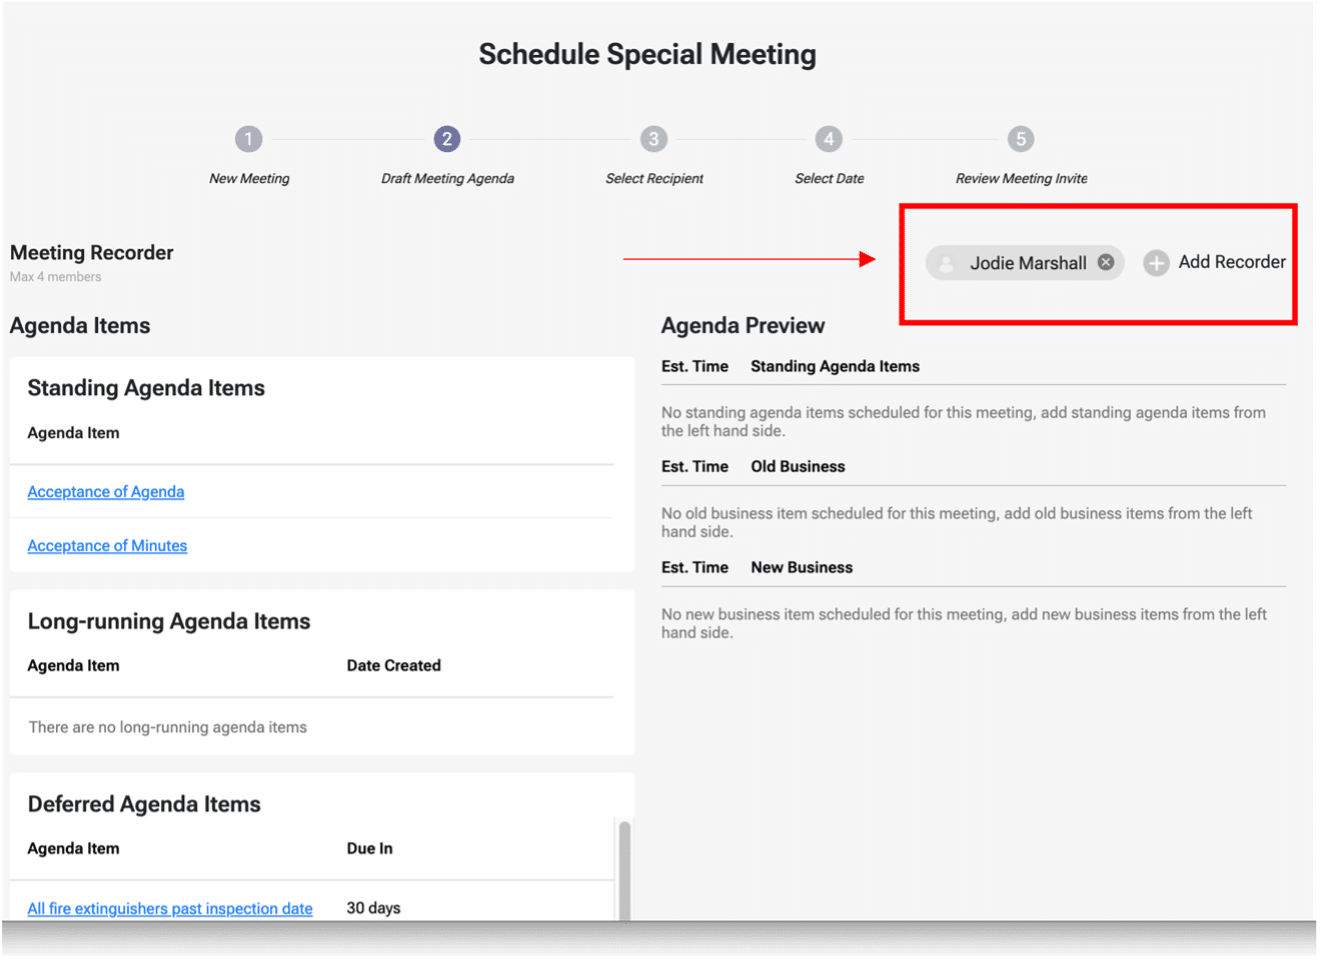
- You will be directed to the ‘Draft Meeting Agenda’ page. The draft meeting agenda in the OHS Resource Centre includes four main types of items:
- Standing agenda items: regular topics that are consistently discussed in every meeting.
- Suggested agenda items: new topics proposed by committee members.
- Long-running agenda items: items discussed or postponed for months and not closed. The number of months can be configured in the committee roster tab, as shown in the screenshot below.
- Deferred agenda items: issues that were previously discussed but not resolved, need further attention in the upcoming meeting. These items do not exceed the number of months required to become a long-running agenda item
Note
- Often, special meetings are called to deal with a new or imminent issue that cannot wait until the next scheduled meeting. If this is a new issue, follow the suggested agenda items procedure.
- You can add a recorder(s) for the meeting by selecting the ‘+ Add Recorder’ option at the top of the form (see screenshot). You can add up to 4 additional meeting recorders while scheduling the meeting. The Meeting Recorder is responsible for starting the meeting, recording the proceedings, making necessary changes to the meeting interface, and editing the draft minutes.
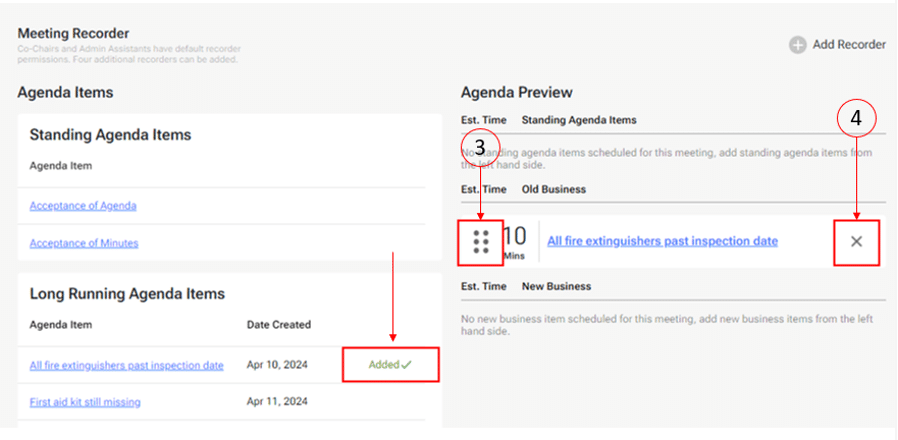
- Add agenda items by hovering over the hyperlinked agenda items. When your mouse hovers over the agenda items, a ‘+ Add’ will appear (screenshot number 1).
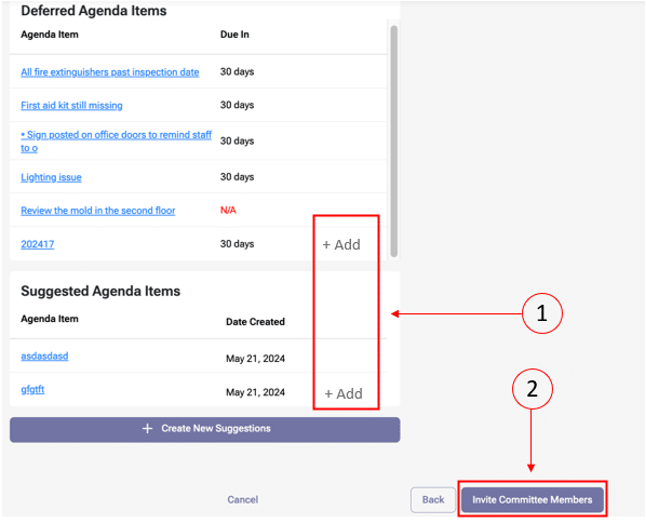
- After the agenda item is added to the meeting agenda, you can remove it (number 4) or rearrange it (number 3) by hovering over the item.
Note:
- The order of agenda items can only be changed before the meeting begins.
- Once you have selected your agenda items, select the ‘Invite Committee Members’ button (above screenshot number 2). This will initiate an automated invitation to the special meeting for the committee members.
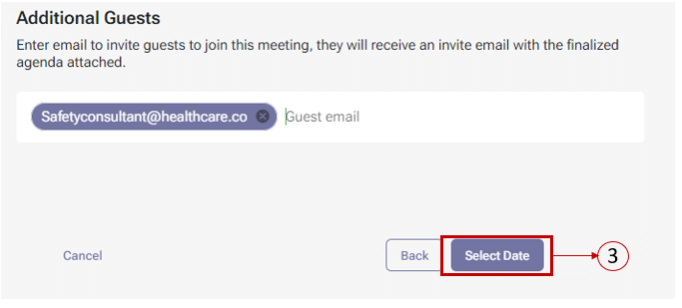
- After selecting the ‘Invite Committee Members’ button, you will open the ‘Select Recipients’ form. Here, add committee members by selecting the tick box next to the members’ names (step 1 in the screenshot). You can invite guest attendees by adding their email addresses at the bottom of the form (step 2 in the screenshot).
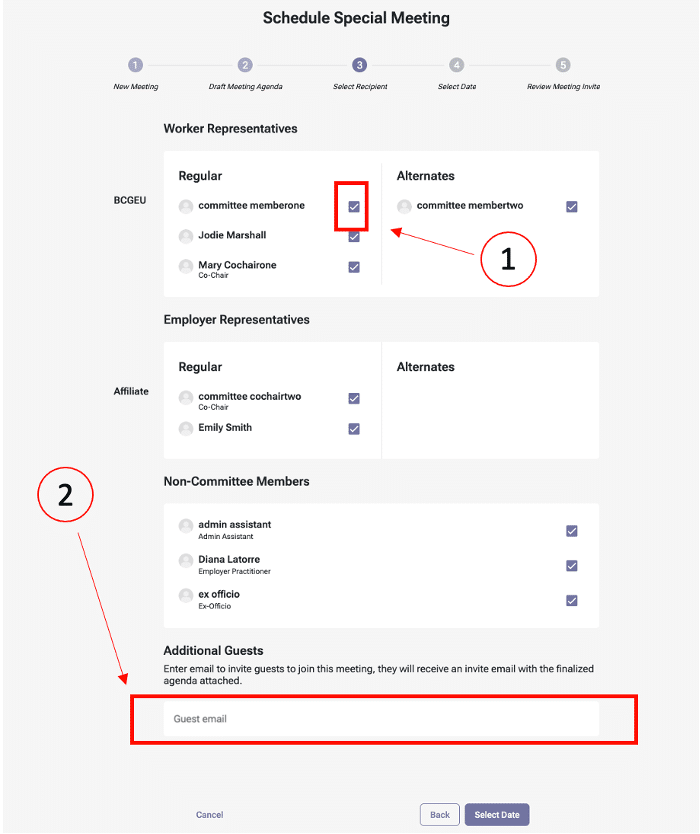
- Once you have added the committee members, navigate to the ‘Select Date’ button (step 3 in the screenshot) at the bottom of the form to move to the next screen.
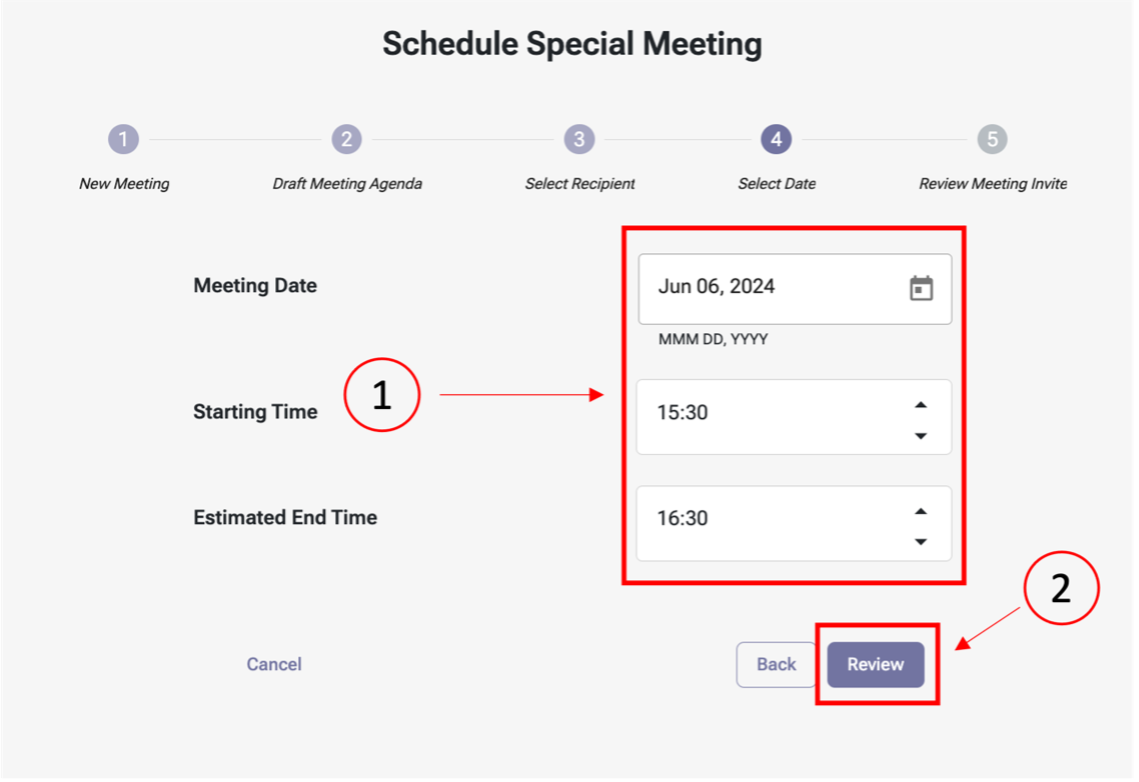
- To select a meeting date, select the calendar icon in the ‘Meeting Date’ box to view upcoming dates. This is then followed by completing the ‘Starting Time’ and Estimated End Time’ sections (screenshot number 1). Once these details are inputted, select the ‘Review’ button (screenshot number 2) to move to the next phase.
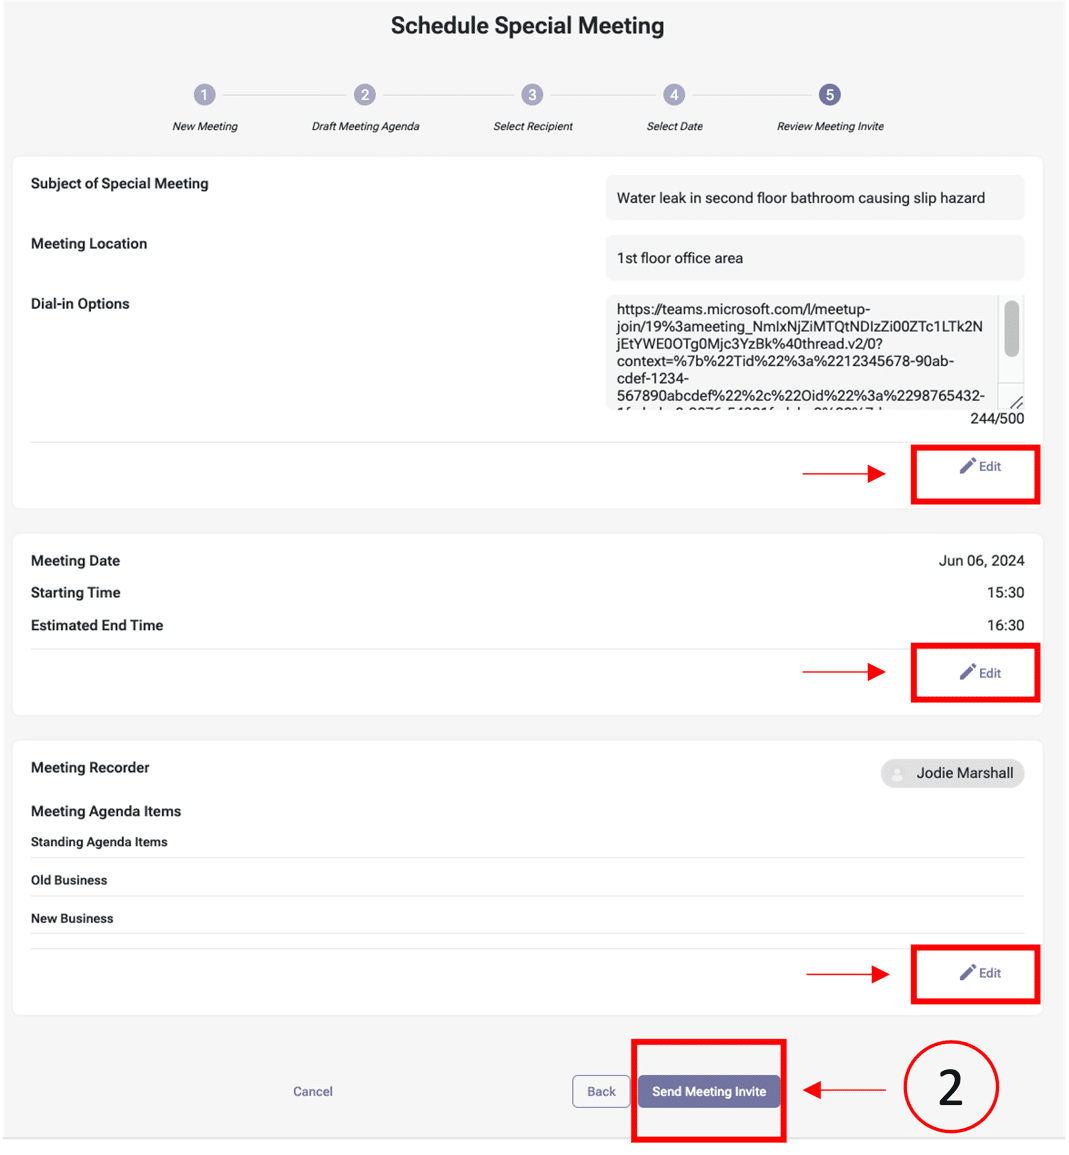
- The ‘Review Meeting Invite’ allows an opportunity to check all the meeting invite details. Selecting ‘Edit’ will take you back to the relevant section to make your changes. Once you have confirmed the meeting details, press the button ‘Send Meeting Invite’ at the bottom of the form.
- After selecting ‘Send Meeting Invite,’ a confirmation page will display. Select ‘Back to New Meetings’ to move into the next phase. If the special meeting date is not the next meeting in the schedule, it will appear at the bottom of the screen. If it is the next meeting to occur, it will appear at the top of the screen. Notifications will be sent to all attendees after this phase has been completed.
