


LEARN MORE


Rescheduling Special Meetings
Rescheduling a meeting in the OHS Resource Centre allows you to change the date and time of a finalized meeting (a finalized meeting means the agenda and details are confirmed and set). All changes are documented, including the reason for rescheduling, and the updated details are communicated to participants outside of the platform. In the future, the system will provide automatic updates when a meeting is rescheduled. For now, notifications must be sent manually. The meeting remains in the finalized phase, ensuring transparency and consistency.
Applies to:
- Admin Assistant
- Committee Co-Chair (worker and employer)
- Committee Members with meeting recorder privileges.
STEPS
- To start with the rescheduling process, select the ‘Reschedule’ button on the ‘New Meetings’ page. Refer to the screenshot below. The ‘Reschedule’ button will be available after you finish scheduling the special meeting.
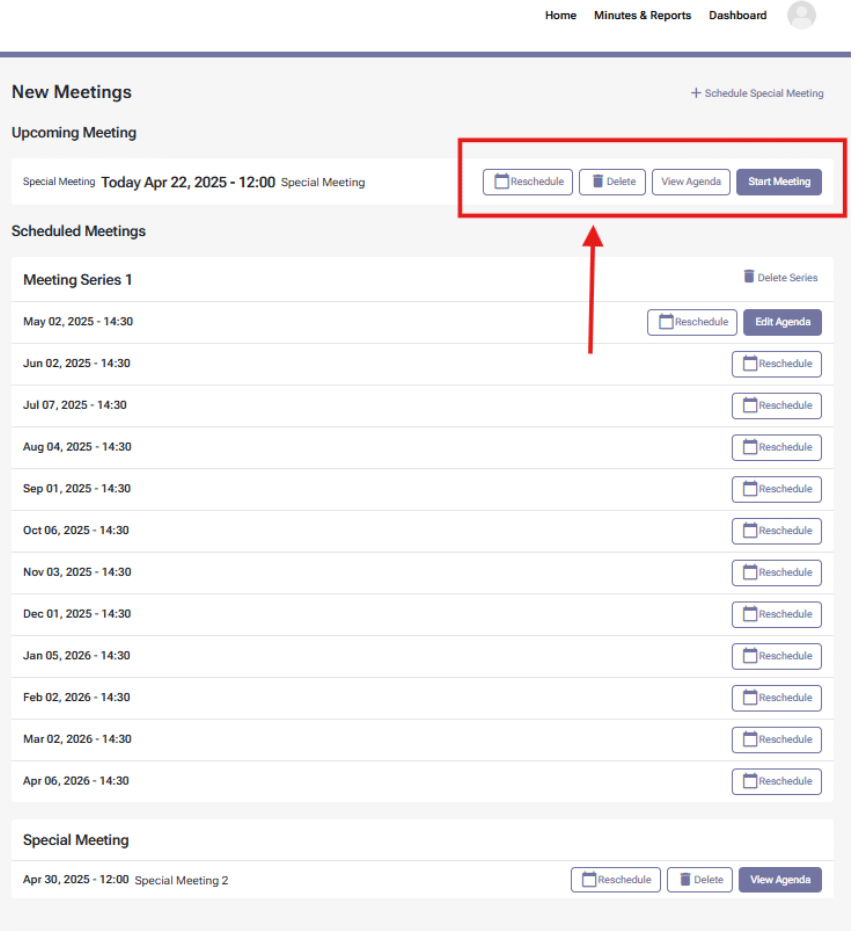
- You can also reschedule a meeting by clicking on the ‘View Agenda’ button (see screenshot above). Then, on the ‘Finalized Meeting Agenda’ screen, you can find a reschedule button at the bottom (see screenshot below).

- When you select ‘Reschedule,’ you will open the ‘Reschedule Meeting’ form where you can add the subject, location, and dial-in options in the ‘Edit Meeting Settings’ section.
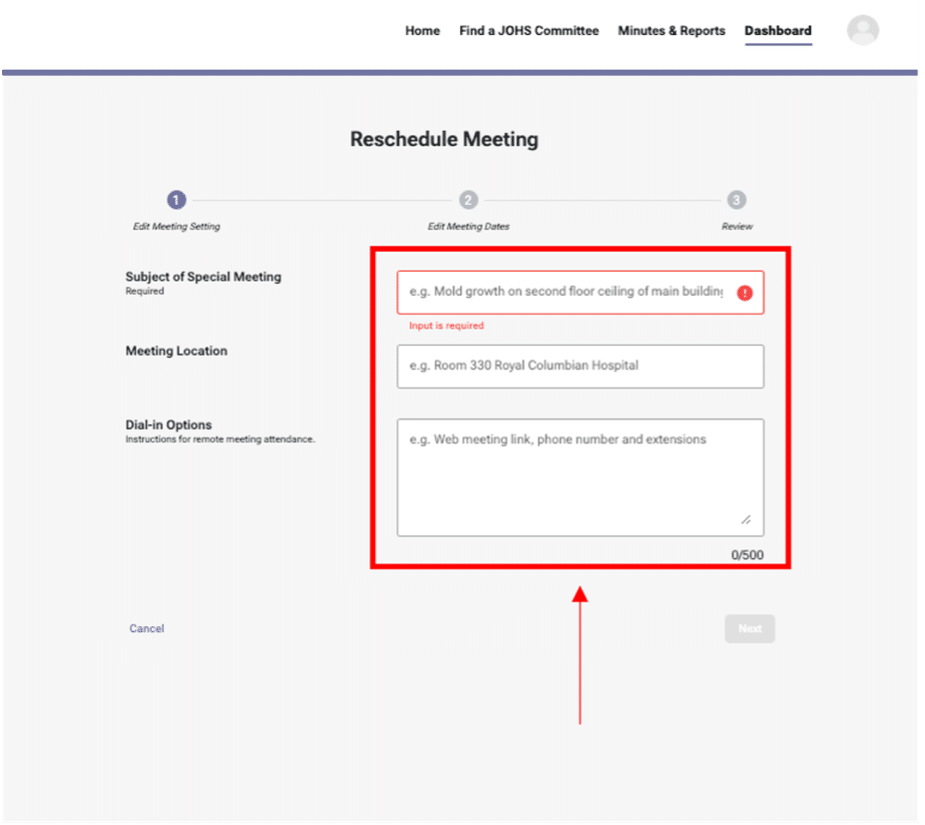
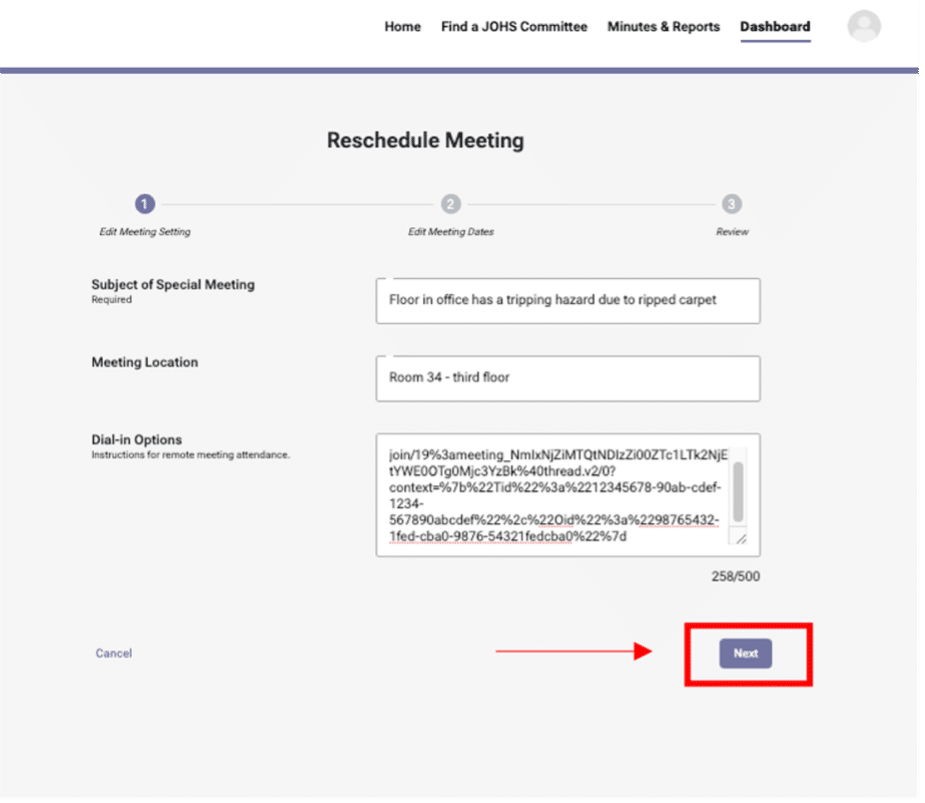
- Complete the ‘Edit Meeting Setting’ section with your meeting information, as per the screenshot below, then select ‘Next’.
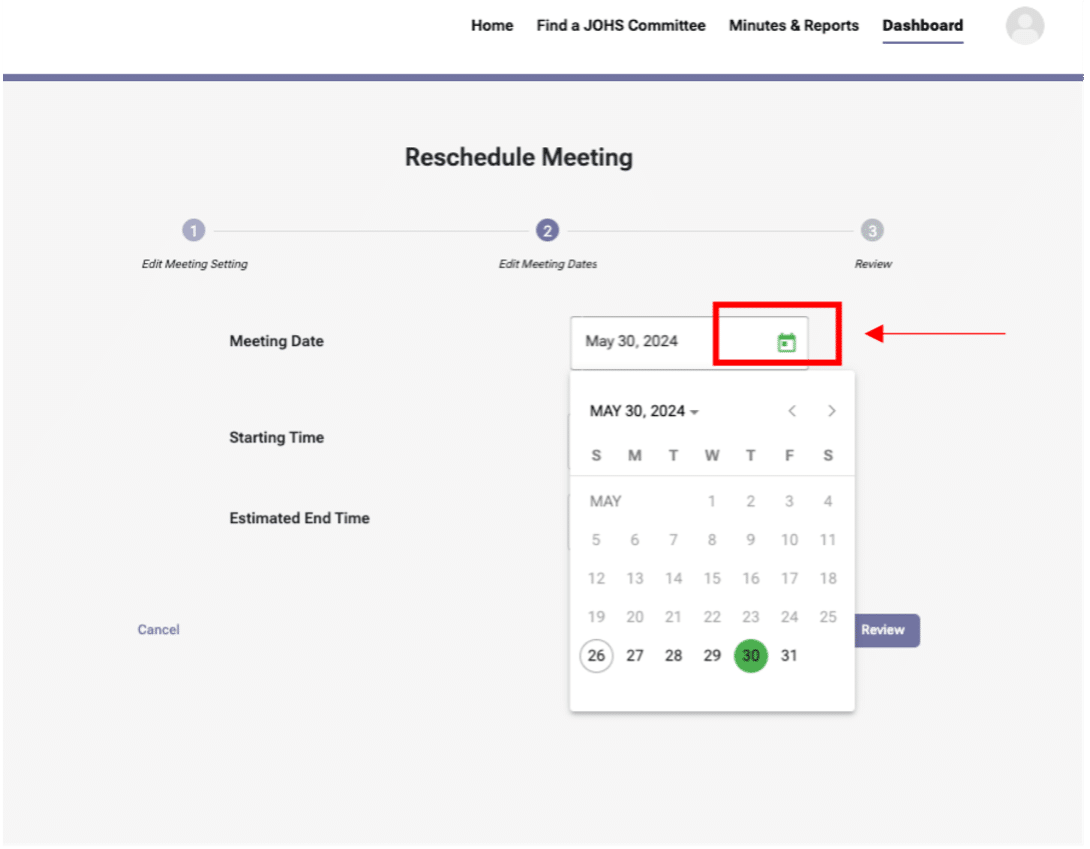
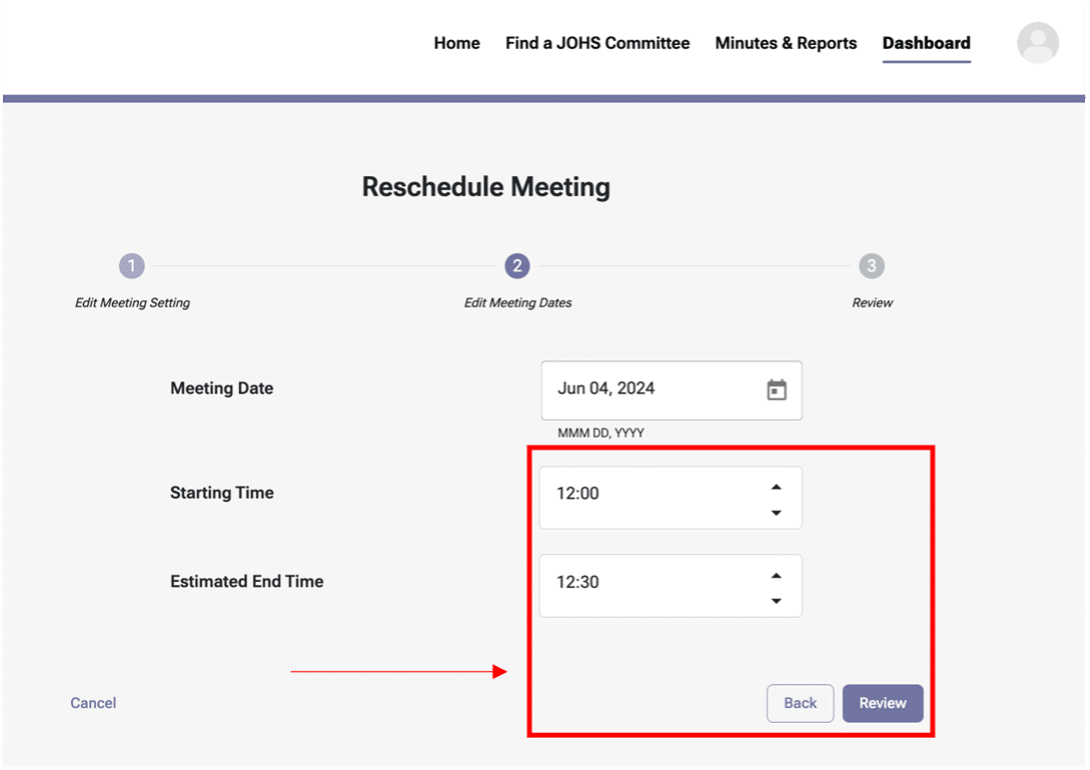
- The next screen you will be taken to is the ‘Edit Meeting Dates’ form. Here, you will input your new meeting date (first following screenshot), followed by the start and end times (second screenshot). Once this information is inputted, select the ‘Review’ button.
- Once you have selected ‘Review,’ you will move to the ‘Review’ form. Here, you can ensure all the details are accurately added and make any edits necessary by selecting ‘Edit’.
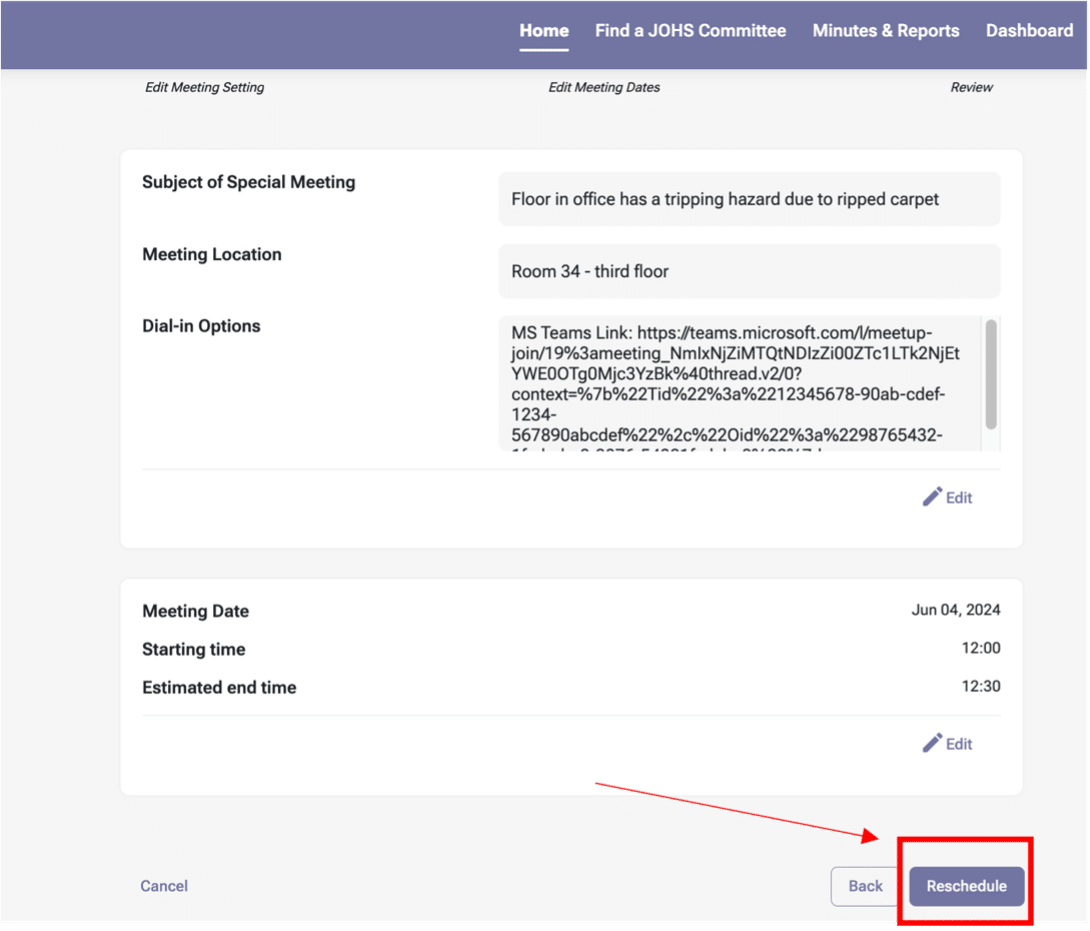
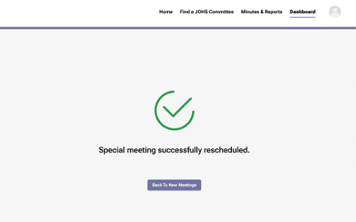
- After confirming your information, press the ‘Reschedule’ button, and a confirmation screen will appear, as shown below.
Note
- If it is the next scheduled meeting, you will find your rescheduled meeting date and time at the top of the meeting list. Otherwise, it will appear at the bottom of the page. It will remain in the finalized phase.
- While there are restrictions on re-scheduling recurring meetings, you can reschedule a special meeting to any new time.